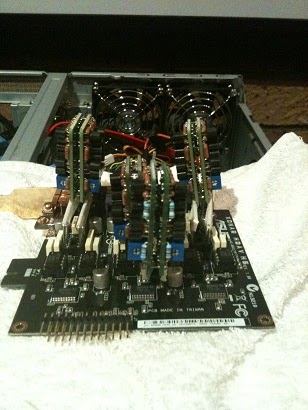
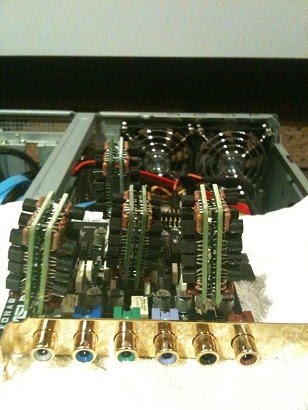
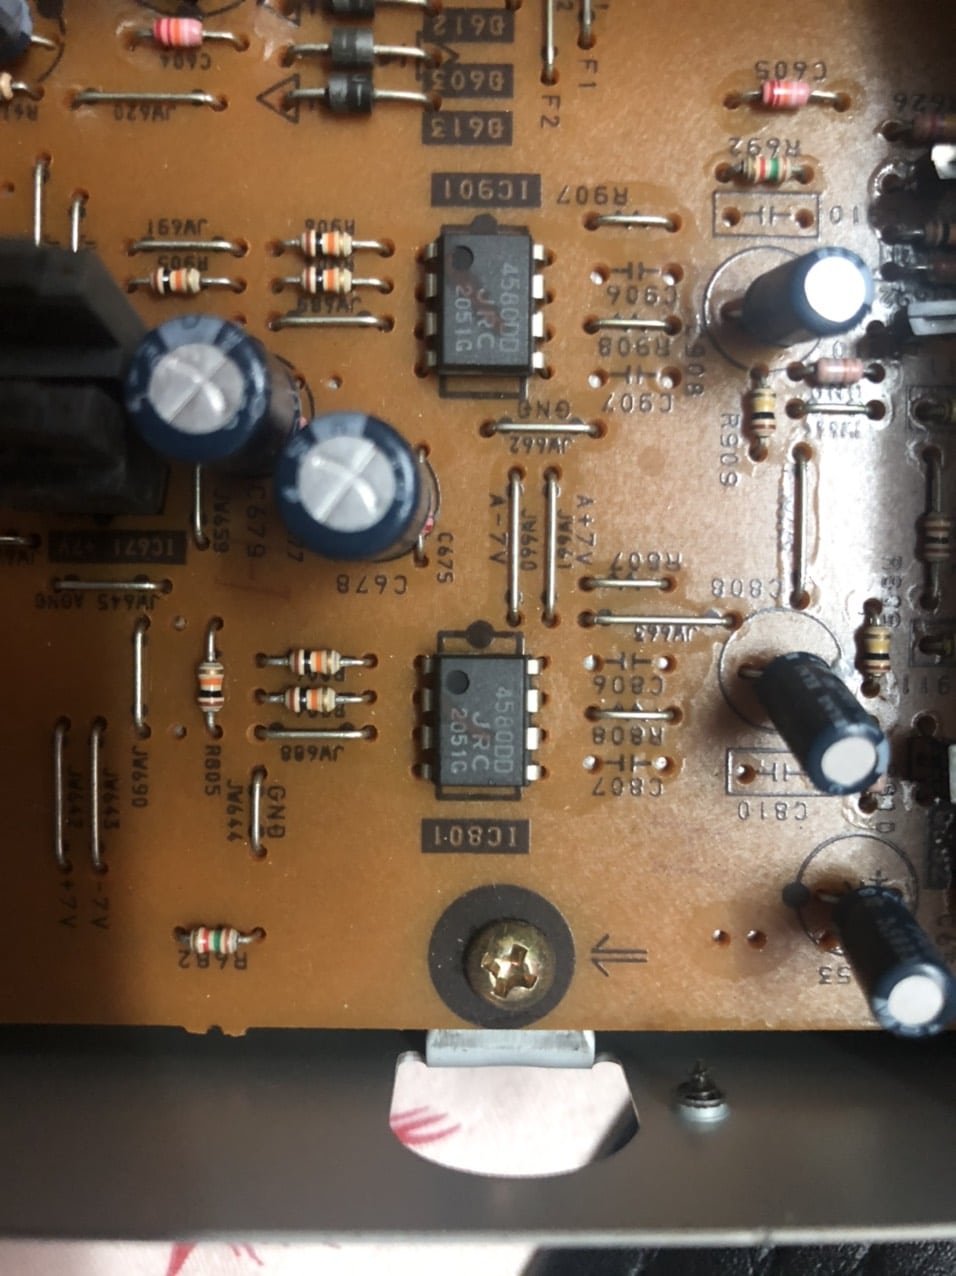
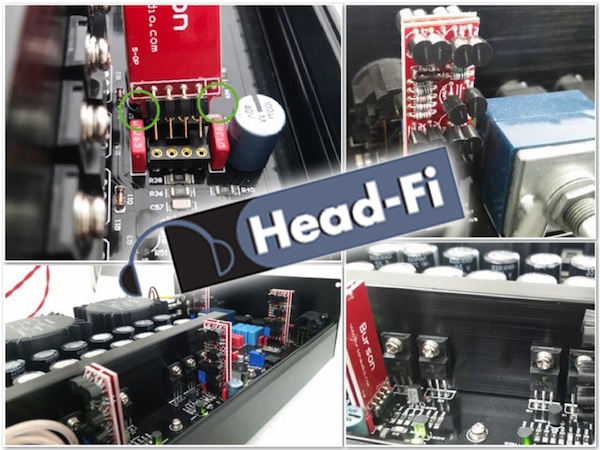
The installation process itself wasn’t difficult, but it was quite fiddly. My soldering skills are not all that good, especially for this sort of work, so instead of removing the existing sockets from the card and resoldering the opamps directly to the board, I just plugged each lead into the corresponding position in the socket. The Asus Xonar HDAV 1.3 is actually 2 cards – the main card supplying output for the front 2 channels and a daughter card supplying the remaining 6 channels of a 7.1 setup.
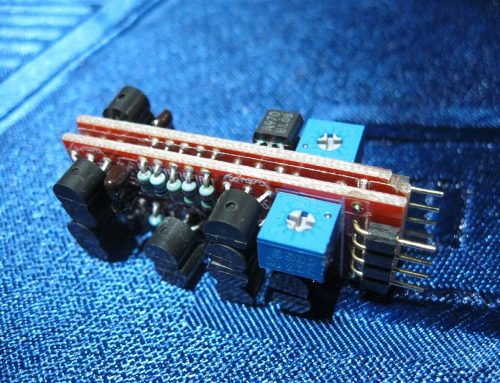
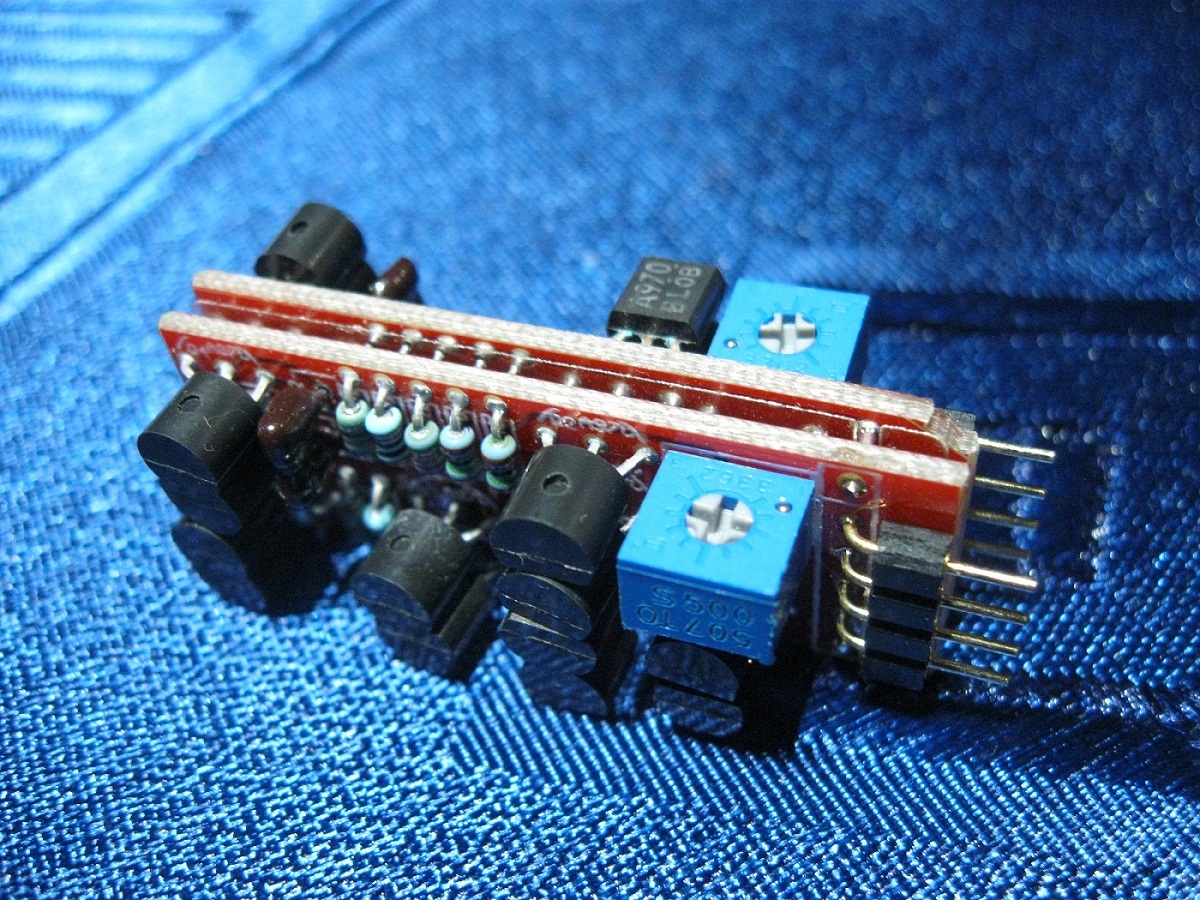
All connections are standard RCA. The cards are connected via a ribbon cable and only the main card requires an actual PCIe slot on the motherboard. There’s not a lot of room to spare on the Xonar and the designers built it with the idea in mind that others would be upgrading to different IC opamps, and not the much larger discrete opamps produced by Burson. I made a bit of an error in judgement with the first round of opamps – I got all three with 8-pin DIP headers and of course, there wasn’t room on the main card to fit them straight into the opamp sockets.
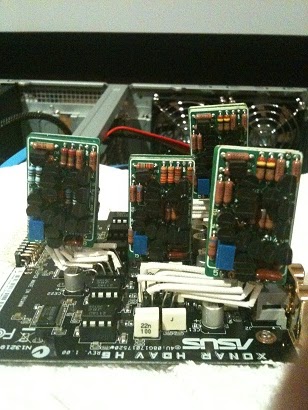
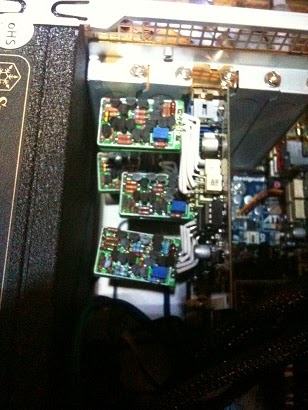
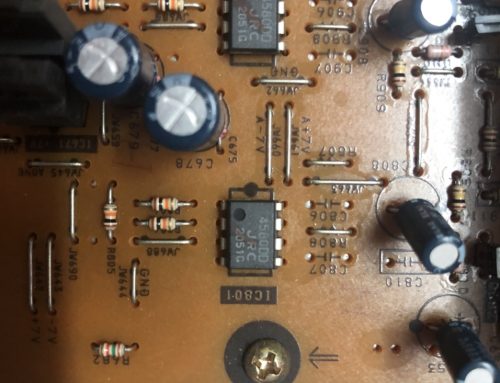
Long story short – I bought some more with bare flying leads and with a bit of careful routing, the opamps were installed and stage 1 of the upgrade was complete. I’ve since purchased a few more and upgraded the front (buffer) section opamps (of which there are 3) on the daughter card as well as the I/V section for the centre channel. Note to newcomers – for some reason, the I/V section opamps for the centre channel and subwoofer channel are reversed, so the I/V centre channel is actually the fourth opamp down from the top of the card. I found that out through trial, error and much frustration! In terms of the difference it made to the sound, I’ll start with my impressions of the card as it sounded out of the box.
I originally bought the Asus for 2 main reasons – it was widely considered an “audiophile” card and many reviews were giving it very high marks. Also because it had swappable opamps. Prior to installing the Burson discrete opamps, I let the existing opamps burn in (approximately 50 hours of burn-in time) and then did some listening. I had the analogue outputs going from the card to the 7.1 analogue inputs on my Marantz SR5600 receiver, and my Paradigm Titan speakers connected from that.
Since the inputs on the receiver were only expecting a line-level signal, I had to adjust the input from the PC so that the signal wasn’t being clipped (the Asus supplies a 2V RMS full scale output, line-level is approximately 0.3V). I started with a couple of my favourite CDs for testing out new equipment – Dire Straits’ “Brothers in Arms” and Eric Clapton’s “Unplugged”. I like a lot of guitar-oriented music and these recordings both display really nice tone and space. I have to say that I was a little bit disappointed with the “stock” card.
The sound was much more open than what was produced with my Marantz with more extension in the bass, but the guitars had lost all their “crunch” and tone. Vocals were also similarly flat and lifeless – it seemed as though the whole mid-range around the 1KHz to 4KHz mark was just “dead”. With a little bit of tweaking of the equalisers, I was able to squeeze an almost satisfactory sound from the mid-range, but for music listening, it wasn’t what I set out to achieve. For movies, however, and without a centre channel that was too revealing, I was actually pretty happy with the sound, so even though I was a little disappointed with the card for 2 channel music, movies were much better than what I had with just the Marantz. I still don’t know if I’d call it an “audiophile” card (unless “audiophiles” have lowered their standards of late), but I don’t think there is a better sound card out there for this purpose.
After installing the Burson discrete opamps, however, absolutely everything changed, and quite remarkably so! Everything opened up and I started noticing other areas where the original opamps were lacking. The soundstage went from being flat to having much more depth (perhaps a little shaky on the precise positioning of instruments, but I attribute that more to my other equipment than to the opamps). Guitars regained their “crunch” and tone (listening to the intro of Dire Straits’ “Your Latest Trick” is something pretty special with the new Bursons discrete opamp!), vocals are much sweeter and details are revealed that weren’t even remotely discernable previously. The control in the bass was also much tighter, the original opamps seemed to be adding artefacts in the mid-bass range that weren’t in the original recording; these had completely disappeared with the Bursons opamp. After installing the opamps on the daughter card and watching some movies (Toy Story 3 on BluRay, Tron Legacy on BluRay and The Incredibles on DVD among others) I was equally impressed. Especially since during the process of upgrading the remaining opamps, I had also acquired a nice new Anthem PVA7 power amplifier and a Paradigm Reference Studio CC-490 centre channel speaker. One thing I noticed with all movies was the level of detail the audio engineers had gone into. For example, immediately after the starting sequence of Toy Story 3, the toys are having their meeting in Andy’s room which is mostly empty and has hardwood floors. I could actually hear the reverberation of the voices off the hardwood floors with the mostly empty room – this was something I’d never heard before. The game sequence in Tron Legacy is nothing short of awesome and The Incredibles is great throughout.
So, all in all, the Burson’s discrete opamp have been worth every cent and I am very happy that I stumbled across them in my search for the ultimate opamp. I’m convinced that you won’t find any better opamp out there.
Cheers,
Brenden H.
